Rosters are typically unlocked to avoid inadvertently preventing access to a survey. However, we recommend locking Rosters as soon as all participants are included on the Roster.
Locked Roster: participants can only access the survey if they are already on the Roster. This ensures each participant is identified correctly every time they submit a survey, but it requires having an accurate, up-to-date Roster.
Unlocked Roster: participants can add themselves to the Roster when they access the survey for a Class/Group. This means the Roster does not have to be pre-populated or complete, but unlocked rosters can reduce data quality if participants accidentally use inconsistent identifiers to access each survey (e.g., they mistype their email or use different email addresses). To limit these types of errors when a roster is unlocked, it’s critical to select the appropriate Sign-On Type and enable a Sign-On Rule. You may also review participants added to an unlocked Roster as they are denoted in the “Added by student/participant” column in the Roster. In addition, until all participants are added to a Roster, participation percentages may appear higher.
Note: The Ruler icon in the Class/Group Card will appear with a dark background when enabled and white background when disabled.
Select a Sign-On Type and create a Sign-On Rule to make sure participants use an appropriate, consistent identifier.
Lock Rosters once your Roster is complete or has stabilized, e.g., after your schedule adjustment period or add/drop deadline. This will reduce the likelihood that participants accidentally use the wrong identifier.
Review Rosters and adjust them as needed. For example, you may remove participants who are no longer enrolled or correct any typos.
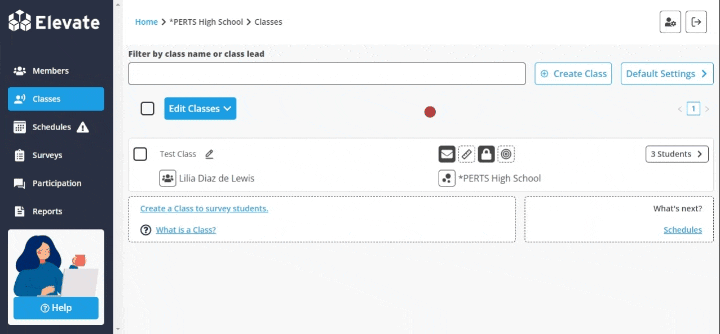
From the Classes/Groups tab, click the lock icon for the Class/Group you would like to edit.
To enable the roster locking, toggle the button from an X to ✓. Click Save Change to 1 Class.
To disable the roster locking, toggle the button from an ✓ to X. Click Save Change to 1 Class.
The Lock icon next to the Class/Group name will appear darkened if activated/locked, and lightened if deactivated/unlocked.

From the Classes/Groups tab, select the Classes/Groups you would like to edit by clicking the boxes next to their name.
Select the Edit Roster Locking option under the blue Edit Classes button.
To enable the roster locking, toggle the button from an X to ✓. Click Save Change to # Classes.
To disable the roster locking, toggle the button from an ✓ to X. Click Save Change to # Classes.
The Lock icons next to the Class/Group names will appear darkened if activated/locked, and lightened if deactivated/unlocked.

From the Classes/Groups tab, click Default Settings
Scroll to Roster Locking
To lock Rosters, toggle the button from an X to ✓.
To unlock Rosters, toggle the button from an ✓ to X.
Click Save Settings for New Classes/Groups.
Note: When a Default is set and roster Locking is changed for a Class/Group, an alert will appear along with an option to instead match the Community’s Default.